AI is like a brain in a jar, without the spine that connects to the rest of the world, it’s worthless. This project provides a bridge – the MuleSoft AI Chain connector – to connect AI services with all MuleSoft components. Although the project is still in the development phase, it promises quite interesting and useful tools in the near future. Some of them are connectors to NLP libraries, Deep Learning models, and language translations, as well as connectors for providing web crawling capabilities.
“AI engines are like a brain in a jar— capable of providing insights but lacking the nervous system needed to automate processes, commands, or updates within an organization, making implementation difficult.”
– Founder of MuleSoft
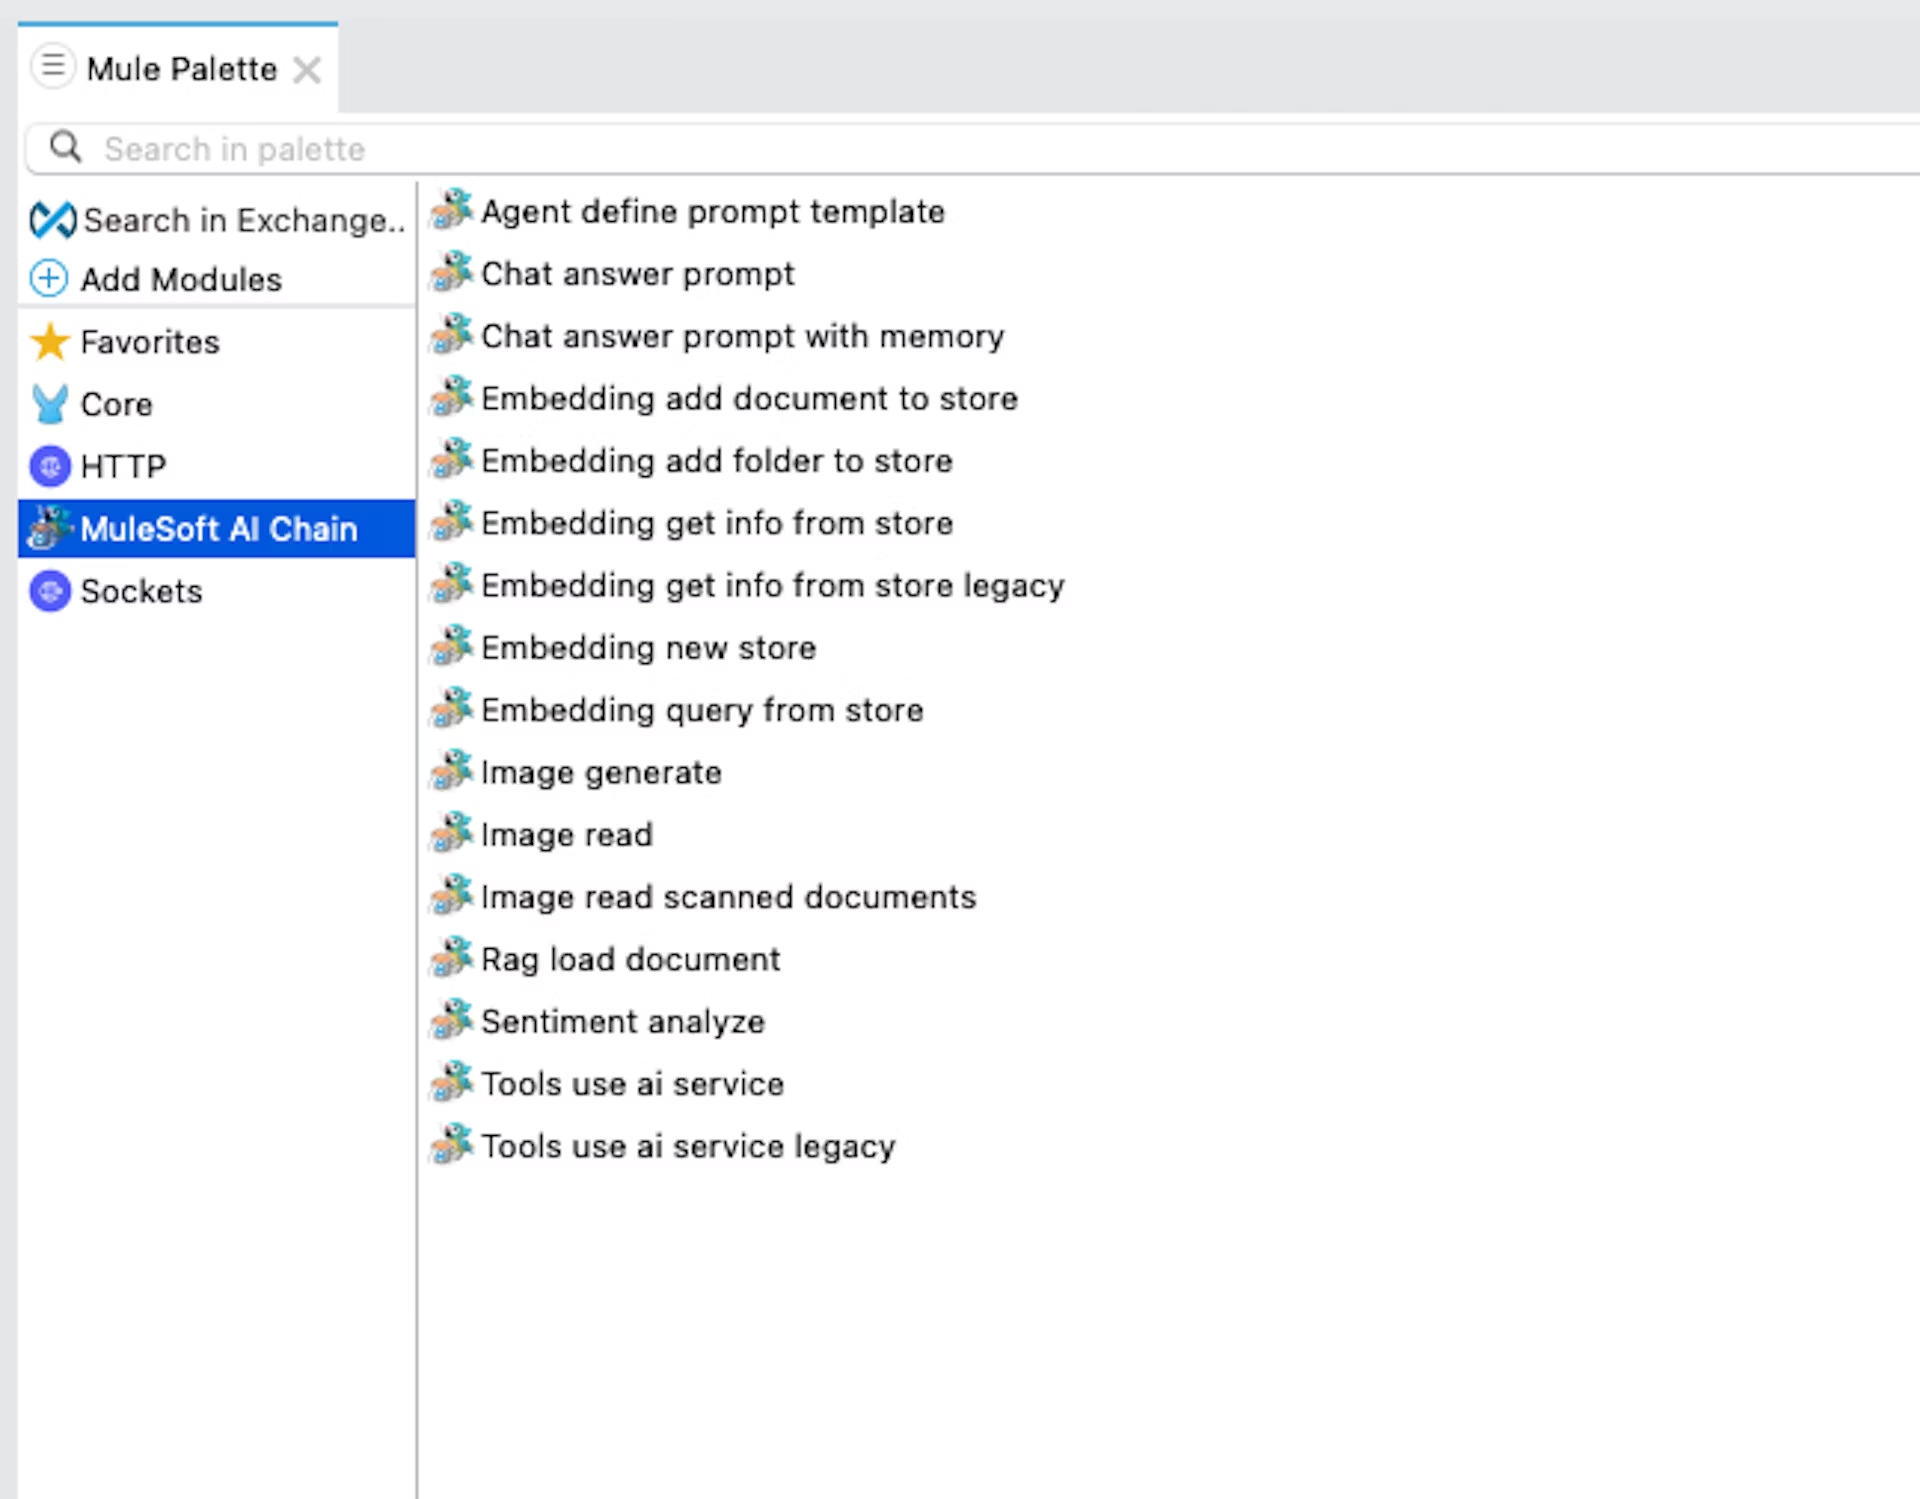
This article focuses on the custom connector interacting with the AI agents. The project was made on top of the langChain4j project to enable easy access to MuleSoft components. The project is known as the MuleSoft AI Chain or MAC for short.
TL;DR
The MuleSoft AI Chain Project connects AI services with MuleSoft components. This way, it enables functionalities of sentiment analysis, chat prompts, image generation, document analysis, and embeds stores for querying stored documents. It supports multiple large language models, is open-source, and can be deployed via CloudHub or on-premise, making setup straightforward and flexible.
Although still in development, the project promises significant potential for enhancing customer support, market research, and content creation. Key concerns include data leakage, inconsistent AI responses, and response time issues. Despite these, it offers powerful tools that can transform tasks from hours to minutes, inviting contributions and direct communication with developers.
Good to know before setting up the MAC connector:
- No need to learn anything new, easy to set up
- Can be deployed via CloudHub 1.0 and 2.0, as well as on-premise
- Max 3 LLMs can be used at the same time
- Supports only JDK 8 at this time (in the future Java 17)
- Tested mostly on OpenAI and Mistral AI (for other LLMs only trial tests)
- Not production ready
- Project is open-source (not supported by MuleSoft or Salesforce)
- Not suited for large data systems? (still no specification about how big systems or how large datasets can be used)
The information above is linked to the 0.1.0 version of the connector
MAC supports the following LLMs (Large Language Models) configurations:

- Anthropic
- AWS Bedrock
- Azure OpenAI
- Mistral AI
- Ollama
- OpenAI
In the following examples, Open AI was used for testing the connector.
How to set up the connector?
The setup of the project is straightforward and can be found via this link: mac-project.ai
While setting up the connector you may or may not run into the following issues:
When compiling Maven, make sure that you skip the tests because otherwise it will fail:mvn clean install -Dmaven.test.skip=true
The connector may not be recognized after adding it to the pom.xml. If you get an error message regarding the dependency, try to search for your .m2 folder and replace the groupId with the name of the folder where the connector is stored. The folder name can be a UUID (for example 0b429e15-7202-4436-b494-748364d1c28b).
In the terminal: open ~/.m2 (macOS)
Sentiment Analyzer

The operation is used for understanding the sentiment of the text input, which can result in a negative, positive or neutral tone.
INPUT: Text for analysis → OUTPUT: Sentiment tone
What would you use this for, you may wonder? Here is a list of possible use cases:
- Analyze customer reviews, surveys, and feedback forms in any industry
- Track the public opinions on social media and analyze the outcomes
- Analyze comments and discussions about the industry trends and competitor’s products and prioritize those issues
- Integrate it with customer support tickets, chat logs, and emails to collect data and address negative experiences fast
In the following examples, we used GPT-3.5 as the default model.

Chat prompt

You can send a prompt to the configured LLM directly and get an generated answer.
INPUT: Prompt request → OUTPUT: AI-generated answer
Chat answer operation with memory
The chats are saved in memory to keep the conversation history for each user (per userID).
The amount of messages is limited and can be set in the configuration. After the limit is reached, the previous messages are deleted. The limit is set when the database is created. In order to change the limit, you need to delete the previous database or create a new one. The database is stored in-memory for the provided session. Afterwards, the data is removed.
The database is created locally on the path you provided. Currently, the database file path is a required field and you are not able to set up a different database.

Checkout the examples with chat history:


Images
With the MAC connector, you can generate images based on your input as well as analyze them and generate information based on the images.
For this operation, use the model that can generate images. Usually, this is a paid feature. In this example, we used gpt-4-turbo.

INPUT: Prompt → OUTPUT: Image URL based on the prompt
In the transform message component I extracted the image URL with the following DataWeave expression:
%dw 2.0 output application/json---
{
imageURL: "https:" ++ payload.rawSchemeSpecificPart as  String
}
For this image, I entered the following prompt:
“Create a series of step-by-step visual guides for setting up an advanced smart thermostat. Each image should show different stages of the process”
As a result, you get an image URL with the generated image. The response time for this request was > 15 s.
Currently, the image generate and read operations only support Open AI Image Models.
Read images
With this operation, you can analyze images to detect and count specific objects, such as cars in a parking lot or products on a shelf. It also allows you to extract text from documents, receipts, invoices, or handwritten notes, and effectively handle text in various languages and alphabets, including Cyrillic and Arabic!
INPUT: Prompt about the image and URL of the image -> OUTPUT: AI-generated answer based on the prompt
Requirements for the images:
- The image is below 20 MB in size
- The image extension is one of the following: [‘png’, ‘jpeg’, ‘gif’, ‘webp’]
For this feature, the API key must be added to the environment variables:
- Right-click on your Project > Run As > Run Configurations > Environment > Add
- Set the module configurations in the Image read component to the environment variables
Some interesting use cases that we tested:

Example image of the traffic 
Request with questions about the traffic 
Image used for detecting and analyzing facial expressions and demographics 
Prompt that checks the peoples emotions from the previous image 
Electricity bill in Cyrillics 
Prompt asking about the name of the customer and the amount he needs to pay. The clearer the image, the more accurately the AI can respond to the prompt!
Be aware when processing sensitive data! AI systems might collect and process images without consent, leading to privacy breaches!
Although the image analyzer generally performs well, it can occasionally produce inaccurate results with high confidence!
Rag Load Document
With this operation, you can analyze documents and extract relevant information. The AI model extracts and uses relevant information to provide an answer or respond to the request. Information is retrieved from an in-memory embedding store that works in the background. RAG is short for Retrieval-Augmented Generation.
INPUT:
- User request/command (prompt)
- File Path to the document
- File Type –
- text – Any type of text file (JSON, XML, txt, CSV, etc.)
- URI – Only single URL supported
OUTPUT: AI-generated answer based on the prompt and document provided
Checkout this example with a specification for a thermostat:


Use Cases:
- Enhancing chatbot responses – By retrieving relevant documents, the chatbot can provide more accurate and informative answers to user queries.
- Content creation – Writers and journalists can use RAG to gather background information and ensure their articles are well-informed and comprehensive.
- Customer support – RAG can assist customer service agents by quickly retrieving relevant troubleshooting guides or policies to resolve customer issues efficiently.
- Research – You can access information from research papers or documents based on specific queries.
Embeddings using documents
One of the cool features MAC provides is the ability to add documents to a store. This way, you can ask for information and the AI will search for this information inside all documents so you can ‘talk’ with your stored documents. That can be quite helpful to reduce the amount of wrong information the AI gives you.
I’ll explain how this works using 3 MAC operations.
Embedding new store
The first step is to create your embedding store. This can easily be done by using the “embedding new store” operation and providing a store name. This store name will be reused in the other operation. So in practice, you’ll probably put this in one of your config files.


Embedding add document to store
In this test, I used the following URL to retrieve some information about Cloud Hub 2.0: https://docs.mulesoft.com/cloudhub-2/ch2-deploy.
To be able to extract information from one of your documents you’ll need to store those documents as well. Currently, you can store 3 types of documents:
- PDF,
- Text and
- URL.
So, what you need to do to add the document to the store is use the “embedding add document to store” function?
In this function, you’ll need to use the same store name as the one you’ve just created. As well as the context file of the document. You also have to choose the file type you’re using.


Embedding get info from store
Finally, you can ask AI for the information you want. In this example I asked ”Which replica statuses exist in CloudHub and when do they occur?”. To be able to ask the information you’ll need to use the “embedding get info from store” function. You’ll need to add the name of the store where the document containing your information is stored together with the question (data) you want to ask.

Once we do this request we’ll receive something like this. This way, we are able to talk with our documents.

Use cases to use this function are for example:
- Knowledge base Initialization: Storing all of our Knowledge base documents into one store and create a chatbot which we can ask for information that exist in those documents without the need to go through all of them on our own.
- Data Segmentation: Setting up new stores for different types of data or documents for better organisation.
- Custom Embedding Stores: Creating specialized embedding stores tailored to specific applications or use cases, such as industry-specific document storage.
Agent Define Prompt Template
Another function within the MAC connector is the agent-defined prompt template. This function can be used to basically tell what the AI needs to do. This is done by using 3 input fields.
- Template: contains the prompt template of the operation.
- Instructions: provides instructions for the LLM and outlines the goals of the task.
- Dataset: specifies the dataset to be evaluated by the LLM using the provided template and instructions.

I tested this by trying to let the agent create some kind of passport based on a written text. In case not all information is given the complete field is false.

Please be aware that the agent will require extensive training, and you will need to fine-tune the template to minimize errors. In this scenario, the agent will simply be gathering some information to populate all the necessary fields.

Example use cases for this function are:
- Customer Service Agents: Enhance customer service by providing case summaries, case classifications, summarizing large datasets, and more.
- Sales Operation Agents: Aid sales teams in writing sales emails, summarizing cases for specific accounts, assessing the probability of closing deals, and more.
- Marketing Agents: Assist marketing teams in generating product descriptions, creating newsletters, planning social media campaigns, and more.
AI tools
The tool’s operation can be used for querying APIs autonomously with the capabilities of AI services. Querying is done using natural language. The concept of tools applies to any asset presented in the Anypoint Exchange. The collection of these ‘tools’ is provided via a .json file.
The green route is the default path. It uses public data and can answer any generic question. If the green route doesn’t have the specified information, the AI Agent connects to the relevant API from the collection of tools set in the configuration file.

Example of a config.json (you can name it as you like) file:
[
    {
        "action":"Execute GET requests for API endpoints.",
        "url": "https://anypoint.mulesoft.com/mocking/api/v1/sources/exchange/assets/7b99cead-a984-497b-9e6c-c16a3b4dcb76/employee-api/1.0.1/m/employees",
        "name": "Show accounts",
        "method": "GET",
        "headers": "",
        "example-payload":"{}",
        "query": [
            "Get all accounts",
            "Show all accounts"
            "Show accounts for the country Switzerland",
            "How many accounts do we have",
            "Show a list of all accounts"
        ],
        "description": "Get all information about all accounts. This action applies whenever users' intent is 'accounts', 'workforce', 'get accounts'. Use the headers to perform the request."
    }
]
Action – This field supports currently only GET and POST requests in the format shown above
URL – Complete URL to the endpoint including the resource
Header – Set the header parameters if needed (currently only Basic auth)
Method – Set the HTTP method (currently only GET and POST)
Example Payload – Set an object what the data should look like
Queries – Set the commands that a user would ask
Description – Used by AI to understand how to connect to this API and how to use the data
In this example we used the public API from the official documentation in order to see how it works on a larger dataset:

Response time > 20s for a request to a public API with 100 accounts with a simple query. While testing the operation with more complex queries the response time was > 40s
Combining the query request to the API and a query with a generic question is not possible:

Conclusion
Although the project is rather new, it offers interesting features with limitless potential. These AI services are very flexible and can be integrated into various systems. In the examples above, we demonstrated just the basic use cases of these operations but it’s up to you how you will use them! These tools can reduce tasks that once took hours to just a few minutes. One of the benefits of this project is that it’s open-source, allowing you to contribute easily and communicate directly with the developers about any issues you encounter.
Wow! But…
Some of the risks and downsides of using it:
- During data processing or transmission, there is a risk of data being intercepted or unintentionally exposed to unauthorized parties. In the case of document embedding you have possession of your storage which causes only the functions using that storage to use that data.
- When asking questions to AI, differences between answers for the same questions can occur within the same integration environment and that’s something to keep in mind.
- While testing the functions of the MuleSoft AI Chain connector, we noticed 2 to 10-second response times. This may cause timeouts & other performance issues.
Additional Materials
- Documentation of the project: mac-project.ai
YouTubechannel with video explanations: youtube.com/@MuleChainProjectLinkedingroup of the project: linkedin.com/groups/13047000/
Want to know more? Or implement this yourself? Reach out and let’s have a chat (GPT)!

